
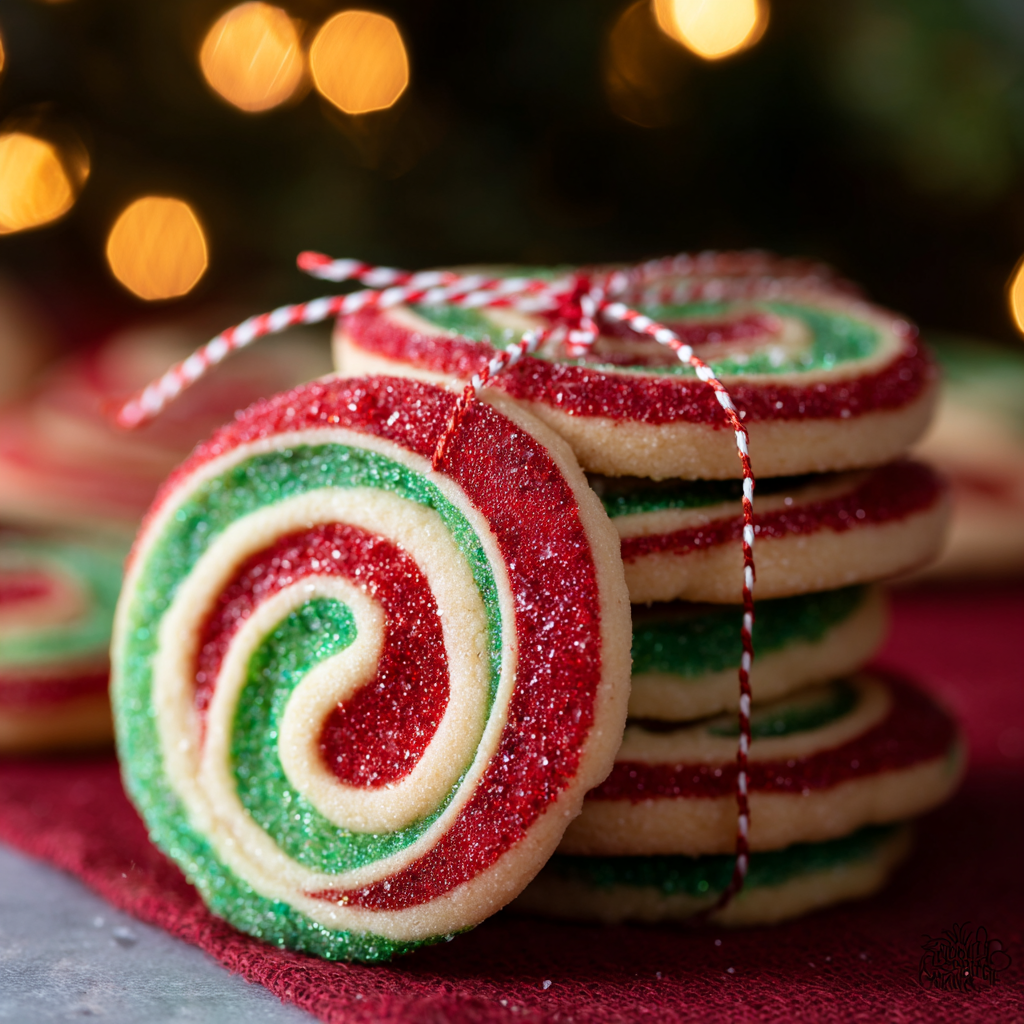
Christmas Pinwheel Cookies

Festive red, green, and vanilla swirled cookies — buttery, tender pinwheels spiced with holiday cheer and finished with sparkling red sanding sugar.
Why You'll Love This Recipe
- Bright, festive presentation with red and green swirls that require only standard pantry ingredients and gel coloring for vibrant results.
- Make-ahead friendly: dough can be prepared, chilled, and frozen in a log form so you can slice and bake fresh cookies over several days.
- Simple technique that yields professional-looking results — no piping or elaborate decorating required.
- Quick bake time: each batch needs only about 8–10 minutes in the oven, so you can produce lots of cookies in a short session.
- Kid-friendly assembly: rolling, stacking, and slicing are fun tasks to do with children during holiday preparations.
Personally, every year I make a double batch the weekend after Thanksgiving. My neighbors come by, we drink cider, and the children help roll the dough into its log — one year my nephew insisted on making tiny logs and we ended up with pint-sized pinwheels that vanished before dinner. The simplicity and reliability of the dough are what keep me coming back to this method.
Ingredients
- Unsalted butter (2/3 cup): Use high-quality European-style butter if you can — it has a higher butterfat content that gives a more tender, flavorful cookie. Let it soften at room temperature for easy creaming.
- Granulated sugar (2/3 cup): Regular granulated sugar creates that delicate crumb; for slight chewiness, you can replace up to 2 tablespoons with light brown sugar.
- Egg (1 large): Adds structure and a little richness. Use a large egg at room temperature so it incorporates cleanly with the butter.
- Vanilla extract (1 teaspoon): Pure vanilla gives depth — I use Nielsen-Massey or a good store brand if I’m in a pinch.
- All-purpose flour (1 3/4 cups): Provides the body of the dough. Measure by spooning into the cup and leveling with a knife to avoid a dry, dense dough.
- Kosher salt (1/2 teaspoon): Enhances flavor and balances the sweetness; use Diamond Crystal scaled appropriately if substituting table salt (about 1/4 teaspoon table salt).
- Baking soda (1/4 teaspoon): A touch of lift helps the cookies set with a slight rise and tender crumb.
- Red and green gel food coloring: Gel colors are recommended for bright shades without adding extra liquid that could change dough texture.
- Red sanding sugar: For garnish — adds sparkle and a tiny crunch on the edge of each pinwheel.
Instructions
Cream the butter and sugar: Add the softened butter and sugar to the bowl of a stand mixer fitted with the paddle attachment. Beat on medium speed until light and creamy, about 3 to 4 minutes. Proper creaming incorporates air for a tender texture — the mixture should look paler and feel smooth to the touch. Scrape down the bowl to ensure even mixing. Add egg and vanilla: With the mixer on low, add the egg and vanilla and beat until fully incorporated and the batter looks glossy. If your egg is cold, the mixture may look slightly curdled; this will even out once dry ingredients are added. Combine dry ingredients: In a separate bowl whisk together the flour, kosher salt, and baking soda. Gradually add the flour mixture to the mixer on low speed and mix just until combined — overmixing develops gluten and makes the cookie tough. The dough should be soft but not sticky. Divide and color the dough: Remove the dough and divide it into three equal portions. Return one portion to the clean mixer bowl and knead in red gel food coloring until evenly colored. Wipe the bowl clean and repeat with a second portion and green gel color. Leave the third portion plain. Form each portion into a ball, wrap in plastic, and chill for 1 hour to firm up. Chilling prevents colors from blending when rolling. Roll into squares and chill briefly: Remove each dough ball and roll between two sheets of parchment into a 7-inch square. Chill the rolled squares for 15 minutes to relax the dough and keep edges sharp when stacking and rolling the log. Stack and form the log: On a clean piece of parchment, stack the squares starting with red on the bottom, then green, then plain on top. Cover with a top sheet of parchment and roll the stack gently until it becomes a 12×8-inch rectangle. Remove the top parchment, then starting from one of the long sides, roll tightly into a log. Wrap the log in parchment and freeze or refrigerate for an hour to firm completely — freezing helps you slice clean rounds. Slice and sugar the edges: Preheat the oven to 350°F and line baking sheets with parchment. Use a sharp serrated knife to slice the log into 1/3-inch thick rounds. For a festive finish, roll the edge of each slice in red sanding sugar, which adds sparkle and little crunch. Bake and cool: Arrange slices 1 inch apart on prepared sheets and bake 8 to 10 minutes, until set but not browned. Let cookies cool on the sheets for 1 minute to firm, then transfer to a wire rack to cool completely. Once cooled, store in an airtight container.
You Must Know
- These cookies freeze exceptionally well: freeze the rolled log tightly wrapped for up to 3 months and slice directly from frozen for baking.
- They are moderately sweet and buttery with light lift — each cookie has roughly 100–120 calories depending on size and sugar used.
- Store baked cookies in an airtight tin at room temperature for up to 5 days, or refrigerate for up to 2 weeks.
- The gel coloring prevents excess moisture in the dough, so use gel rather than liquid dyes for the best texture and brightest colors.
My favorite part is how reliably these keep their spiral shape; even after travel they look as if they were just baked. Last year I sent a tin across state lines and it arrived still intact with each swirl as bright as the day I baked them — my aunt called them "postage-proof holiday joy." Watching kids' faces when they see the swirls never gets old.
Storage Tips
For short-term storage, place cooled cookies in a single layer inside an airtight container separated by sheets of parchment to prevent sticking. Cookies kept at room temperature will remain fresh for about 4–5 days. For longer storage, freeze fully cooled cookies in a single layer on a tray until solid, then transfer to a freezer-safe bag or container for up to 3 months. To refresh slightly softened cookies, warm them in a 300°F oven for 3–4 minutes; this restores a near-fresh texture without drying them out.
Ingredient Substitutions
If you need dairy-free cookies, substitute a vegan stick butter and use a vegan egg replacer like a flax egg (1 tablespoon ground flax + 3 tablespoons water per egg) — note the color and texture will be slightly different and the chew may increase. To reduce sugar a bit, replace up to 1/4 cup of the granulated sugar with a granular sweetener like allulose, but avoid liquid sweeteners that will change dough hydration. For a gluten-free version, use a 1-to-1 gluten-free flour blend and chill the dough longer; the structure is more fragile so slice slightly thicker to avoid crumbling.
Serving Suggestions
Serve these spirals on a platter dusted with powdered sugar or alongside hot cocoa, mulled cider, or a simple coffee bar for holiday gatherings. Garnish with fresh rosemary sprigs to mimic evergreen branches for an elegant holiday table. They also make beautiful edible gifts: stack 8–10 cookies in a clear cello bag tied with ribbon and a handwritten tag for personal, handmade presents.
Cultural Background
Swirled and layered cookies have roots in European baking traditions where contrasting doughs were combined to create visual flair — think of the Viennese swirl or pinwheel designs popularized in American cookbooks during the mid-20th century. Over time, the same technique was adapted to modern holiday palettes, turning a simple shortbread base into a seasonal icon. These cookies embody the blend of practicality and festivity that characterizes much of American holiday baking.
Seasonal Adaptations
For different holidays, change the colors: red and green for Christmas, orange and brown for autumn, or pastel shades for spring celebrations. Swap the sanding sugar color to match the occasion or add a bit of finely grated citrus zest into the plain dough for a bright lemon undertone. For winter parties, fold in 1/2 cup finely chopped white chocolate into the plain layer before assembly for a creamy surprise in each bite.
Meal Prep Tips
Prepare dough through the initial chill on a weekend afternoon, then wrap and freeze logs so you can slice and bake fresh batches through the holiday week. Label logs with the date and color combination. When expecting guests, slice frozen logs straight onto parchment-lined sheets and add 1–2 minutes to the bake time; this keeps your schedule flexible while offering freshly baked cookies on demand.
These swirled delights are quick to make, visually impressive, and endlessly adaptable — once you master the basic method, you’ll find yourself inventing color and flavor combinations for every celebration. Give them a try this season and make the recipe your own.
Pro Tips
Freeze the rolled log wrapped tightly in plastic and parchment; slice from frozen for cleaner rounds.
Use gel food coloring to avoid adding extra liquid; knead coloring in with a clean paddle or by hand for even color.
Chill dough at each stage — chilled dough holds shape better and slices more cleanly.
If cookies spread, chill the cut slices for 10 minutes on the baking sheet before baking.
For perfectly even slices, use a ruler to mark 1/3-inch intervals on the parchment under the log as a cutting guide.
This nourishing christmas pinwheel cookies recipe is sure to be a staple in your kitchen. Enjoy every moist, high protein slice — it is perfect for breakfast or as a wholesome snack any time.
Tags
Christmas Pinwheel Cookies
This Christmas Pinwheel Cookies recipe makes perfectly juicy, tender, and flavorful steak every time! Serve with potatoes and a side salad for an unforgettable dinner in under 30 minutes.
Ingredients
Dough
Instructions
Cream butter and sugar
Beat softened butter and granulated sugar in a stand mixer with the paddle attachment on medium speed until light and creamy, about 3–4 minutes. Scrape bowl as needed.
Add egg and vanilla
Add the egg and vanilla and beat until incorporated and glossy. Mix on low when adding if the mixer is too vigorous.
Combine dry ingredients
Whisk flour, kosher salt, and baking soda in a separate bowl. Gradually add to the mixer on low speed and mix until just combined; avoid overmixing.
Divide and color
Divide dough into three equal portions. Color one portion red and one portion green using gel food coloring; leave the third plain. Shape into balls, wrap, and chill for 1 hour.
Roll and chill squares
Roll each ball between parchment sheets into a 7-inch square and refrigerate for 15 minutes to firm the dough and keep edges sharp.
Stack and form log
Stack the squares (red, then green, then plain) on parchment, cover, and roll to a 12×8-inch rectangle. Remove top parchment and roll tightly from a long edge to form a log. Wrap and freeze for 1 hour.
Slice and add sanding sugar
Preheat oven to 350°F. Using a serrated knife, cut the log into 1/3-inch slices. Roll the edge of each slice in red sanding sugar and place 1 inch apart on lined baking sheets.
Bake and cool
Bake slices 8–10 minutes until set. Let cool on sheet for 1 minute, then transfer to a wire rack to cool completely before storing in an airtight container.
Last Step: Please leave a rating and comment letting us know how you liked this recipe! This helps our business to thrive and continue providing free, high-quality recipes for you.
Nutrition
Did You Make This?
Leave a comment & rating below or tag
@snapyrecipe on social media!
Categories:
You might also like...

5-Minute Thanksgiving Appetizers That Wow Every Guest
A fast, elegant bite for Thanksgiving: creamy cheese, bright cranberry, crunchy pecans and rosemary on crackers or baguette — ready in five minutes and loved by all.

Air Fryer Bang Bang Chicken Skewers
Crispy air-fried chicken skewers tossed in a creamy, sweet-spicy bang bang sauce — a quick, crowd-pleasing weeknight favorite.

Air Fryer Honey Butter Garlic Chicken Tenders
Crispy air-fried chicken tenders coated in a sticky honey-butter garlic glaze — quick, family-friendly, and ready in about 25 minutes.
Did You Make This?
Leave a comment & rating below or tag @snapyrecipe on social media!
Rate This Recipe
Share This Recipe
Enjoyed this recipe? Share it with friends and family, and don't forget to leave a review!
Comments (1)
This recipe looks amazing! Can't wait to try it.
Comments are stored locally in your browser. Server comments are displayed alongside your local comments.
Hi, I'm Natalia!
What's Popular

Get My 30-Minute Meals email series!
Quick and easy dinner ideas delivered to your inbox.