
Christmas Red Velvet Cheesecake

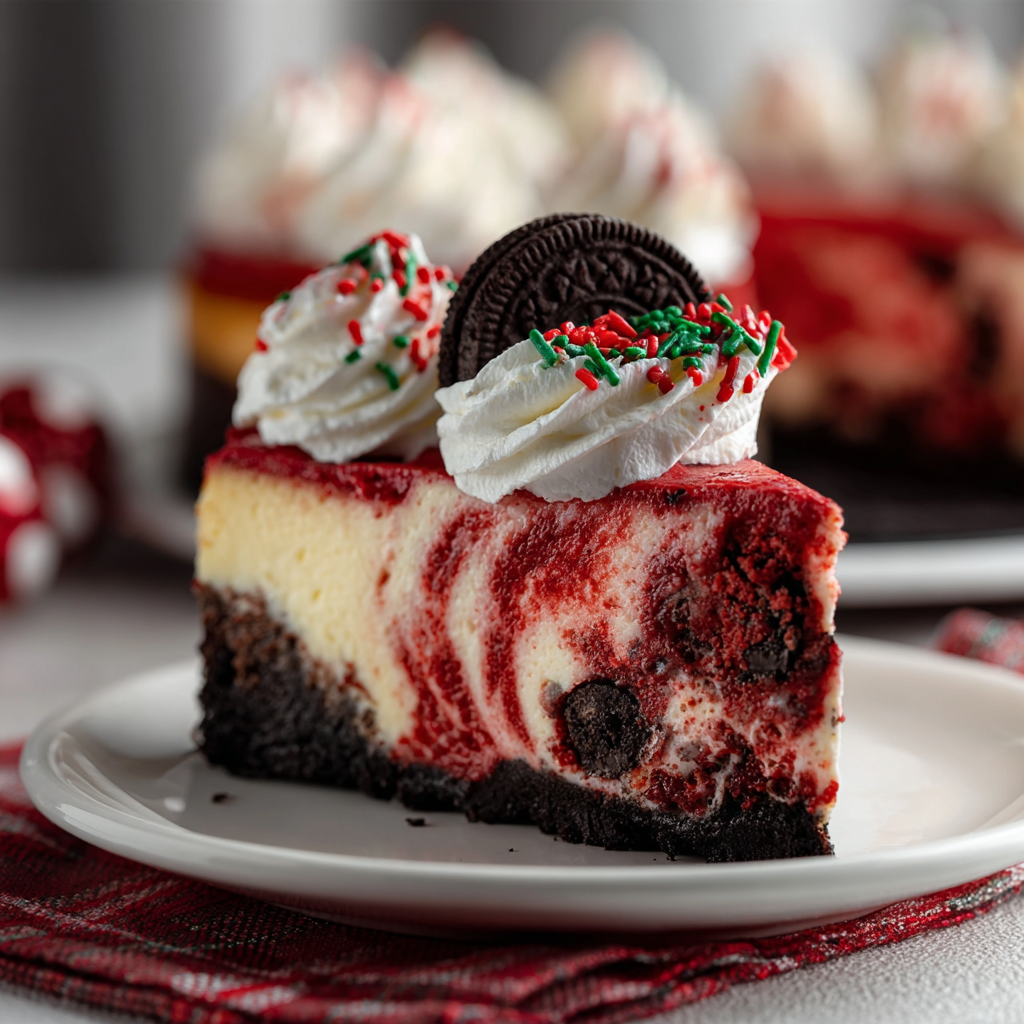
A festive red velvet cheesecake with an Oreo crust, creamy red filling studded with holiday sprinkles and crowned with whipped cream and mini Oreos.

This Christmas red velvet cheesecake started as a challenge to combine two holiday icons: the velvety tang of cream cheese and the dramatic color and cocoa whisper of red velvet. I first made this for a small family gathering one December when I realized I wanted a centerpiece dessert that was both showy and easy to slice. The contrast of a dark Oreo base with the vibrant red filling and white whipped cream is exactly the kind of visual payoff that makes holiday baking worth the effort. Each bite offers a silky texture, a subtle cocoa finish, and the nostalgic crunch of Oreo crumbs beneath. It quickly became the star of our holiday table.
I discovered the final proportions over a few trials, dialing back sugar slightly and using a whipped cream fold-in to keep the filling light while ensuring it still sets firmly after the water-bath bake. I use full-fat block cream cheese and heavy whipping cream for richness, and a tablespoon of cocoa to keep the red velvet flavor authentic without overpowering the cheesecake tang. The sprinkles dropped into the filling add cheerful confetti-like pops that delight kids and adults alike. Serve cold with a dollop of whipped cream and a few mini Oreos on top for an elegant but playful presentation.
Why You'll Love This Recipe
- This dessert blends a familiar crowd-pleaser with a holiday twist: a chocolatey Oreo base supports a vivid red filling that slices cleanly and photographs beautifully.
- It is accessible for bakers with intermediate skills and ready to serve after overnight chilling; active work time is under an hour.
- Uses pantry staples like Oreos, cream cheese, heavy cream and basic baking chocolate powder—no specialty flour or gelatin required.
- Make-ahead friendly: bake one day in advance and chill overnight for stress-free entertaining.
- Customizable: swap the sprinkles, use a different crust, or add a ganache drizzle to suit your menu or dietary needs.
My family’s reaction the first time I served this was delight mixed with suspicion because of the bold color. After the first bite, my uncle declared it the best cheesecake he had in years and my niece wanted to help with every step the next time. Over the years it has become our seasonal tradition, often requested when friends come for holiday cookie exchanges.
Ingredients
- Oreo cookies: 24 whole cookies (about 2 cups of finely crushed crumbs). I use classic Nabisco Oreos for a reliably crisp, chocolaty crust; remove all filling or crush whole and adjust butter for binding.
- Butter: 1/3 cup melted (unsalted). Choose a high-quality butter such as Land O'Lakes for the best mouthfeel in the crust; it should be hot enough to bind crumbs but not so hot it melts the pan liner.
- Cream cheese: Four 8-ounce blocks (32 ounces total), softened to room temperature. I recommend Philadelphia brand for consistent texture; allow full blocks to soften on the counter for at least one hour to avoid lumps.
- White sugar: 1/2 cup plus 2 tablespoons (for the crust and filling). Cane sugar gives a clean sweetness and helps the filling set without being cloying.
- Heavy whipping cream: 2 cups total. Whip 1 cup to soft peaks to fold into the filling for lift; reserve the remaining cup if you plan to pipe whipped cream on top.
- Vanilla extract: 1 teaspoon. Use pure vanilla for depth of flavor.
- Cocoa powder: 2 tablespoons unsweetened. A Dutch-processed cocoa like Droste will deepen the color and flavor.
- Red food coloring: Gel or concentrated liquid, as needed for desired shade. I prefer gel brands such as AmeriColor for vibrant color without adding liquid.
- Christmas sprinkles: 1/4 cup to fold into the filling and additional for garnish. Use sturdy holiday sprinkles to preserve shape during baking.
- Whipped cream and mini Oreos: For topping and garnish. Freshly whipped cream gives the best texture contrast.
Instructions
Step 1 — Prepare pan and oven: Preheat oven to 350°F (175°C). Wrap a 9-inch springform pan tightly with heavy-duty aluminum foil to prevent water from seeping in during the water bath. Make sure the foil extends at least two inches above the rim to avoid leaks when the roasting pan is filled. Step 2 — Make the crust: Crush 24 Oreos finely using a food processor or place in a heavy-duty bag and bash with a rolling pin till very fine. In a bowl, mix crumbs with 1/3 cup melted butter and 2 tablespoons sugar until evenly moistened. Press firmly and evenly into the bottom of the prepared pan using the back of a measuring cup for a compact crust. Bake for 8 to 10 minutes then cool completely on a wire rack. Step 3 — Prepare the filling: In a stand mixer or with an electric hand mixer, beat softened cream cheese until completely smooth, scraping the bowl often. Gradually add 1/2 cup sugar, then beat just until combined to avoid over-incorporation of air that causes cracks. Blend in vanilla, cocoa powder, and red food coloring until the color is evenly distributed; stop and taste for sweetness before adding more color. In a separate bowl whip 1 cup heavy cream to soft peaks and gently fold into the cream cheese mixture. Fold in 1/4 cup sprinkles last to keep the color vibrant. Step 4 — Assemble and bake in a water bath: Pour the filling over the cooled crust and smooth the top. Reduce oven temperature to 325°F (160°C). Place the foil-wrapped pan into a larger roasting pan. Carefully pour hot water into the roasting pan until it reaches halfway up the sides of the springform pan. Bake for 1 hour to 1 hour 15 minutes until the edges are set and the center still jiggles slightly when tapped. Step 5 — Cool gradually and chill: Turn off the oven and crack the door open, leaving the cheesecake inside to cool slowly for 1 hour to prevent sudden temperature shifts. Remove the springform pan from the water bath and cool on a wire rack until room temperature, about 2 to 3 hours. Run a thin knife around the edge, cover loosely with plastic wrap, and refrigerate for at least 6 to 8 hours or overnight until firm. Step 6 — Finish and serve: Remove the springform ring, top with freshly whipped cream, mini Oreos, and extra sprinkles. For clean slices, use a long, sharp knife dipped in hot water and wiped dry between cuts. Store leftovers covered in the refrigerator for up to 4 days.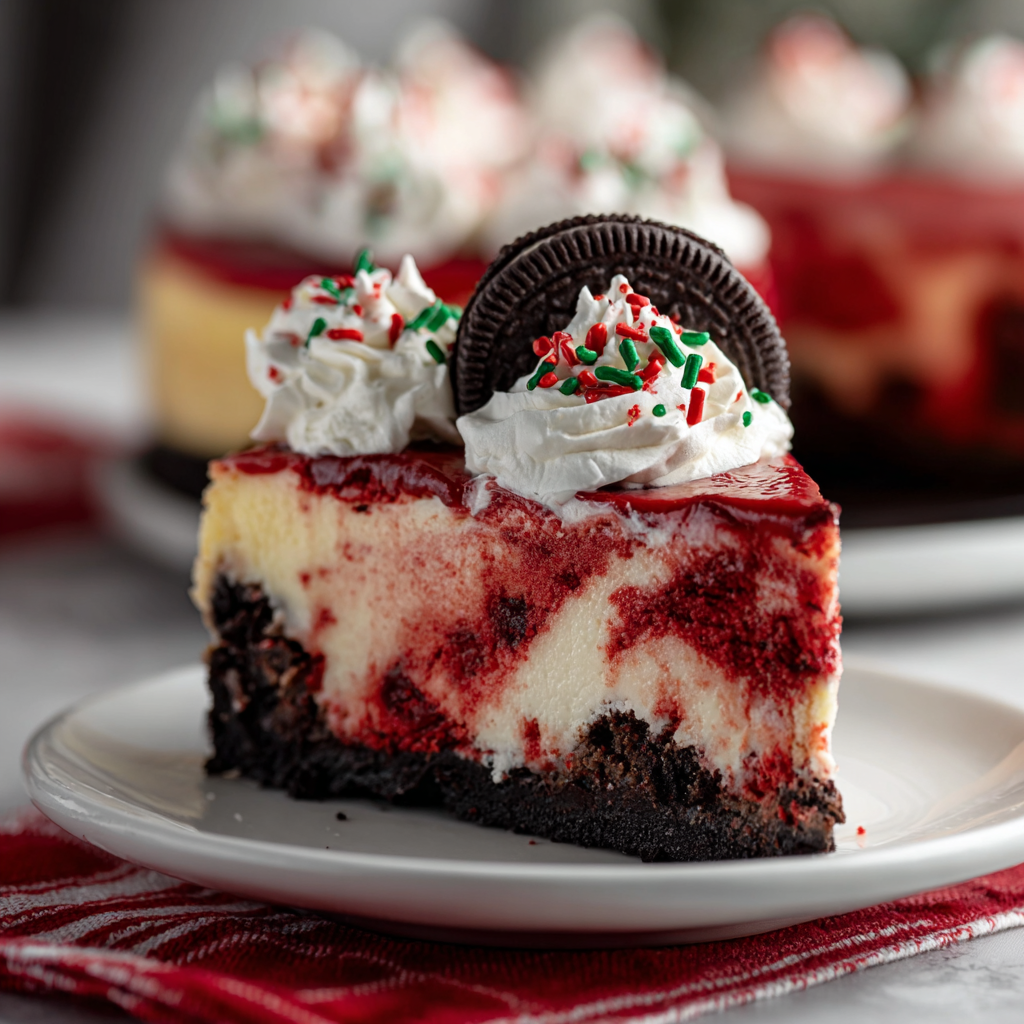
You Must Know
- Chilling is essential: allow a minimum of 6 to 8 hours in the refrigerator, but overnight yields the cleanest slices and best texture.
- This dessert contains dairy and gluten (from Oreos); it is not suitable for vegan or strict gluten-free diets without substitutions.
- Water-bath baking reduces cracking and creates a creamy, even set; wrap your pan well for leak-free results and use hot water around the pan for even heat transfer.
- Freezes well for up to 3 months when wrapped tightly; thaw in the refrigerator overnight before serving.
My favorite aspect is the little surprise of sprinkles inside the filling that look like confetti when you cut into the cake. Every holiday I watch guests smile at the first reveal. The cheesecake also photographs beautifully, so it is a top pick when I need a dessert that will impress without requiring complex piping skills.
Storage Tips
Store leftovers tightly covered in the refrigerator in an airtight container or wrapped in two layers of plastic wrap to prevent absorption of fridge odors. Slices will stay fresh for up to four days. For longer storage, freeze individual slices on a baking sheet until firm, then wrap each slice in plastic and foil and place in a freezer-safe container for up to three months. To serve frozen slices, thaw in the refrigerator overnight to preserve texture. Avoid leaving the cheesecake at room temperature for more than two hours to maintain food safety.
Ingredient Substitutions
If you need a gluten-free crust, use gluten-free chocolate sandwich cookies or substitute a graham cracker crust made from certified gluten-free crackers. For a lower-sugar version, use a granulated sugar substitute suitable for baking in equal amounts but expect a slightly different texture. To make the color naturally, beet powder can be used, though be aware it adds an earthy note—start with a tablespoon dissolved into a small amount of water. For dairy-free changes, plant-based cream cheeses exist, but setting will be different and may require gelatin or agar to firm the filling.
Serving Suggestions
Serve chilled with a generous rosette of whipped cream, a few mini Oreos, and a sprinkle of holiday confetti. Pair slices with a cup of strong coffee or a glass of dessert wine such as late-harvest Riesling. For a festive buffet, plate smaller wedges with a drizzle of warm chocolate ganache or a berry coulis to add acidity and balance the richness. Garnish with fresh cranberries or pomegranate arils for a seasonal pop of color and tartness.
Cultural Background
Red velvet itself traces roots to American baking traditions, gaining popularity in the early 20th century through velvet cakes prized for their tender crumb. Combining red velvet flavor with cream cheese reflects a natural pairing—cream cheese frosting has long complemented red velvet cake. This hybrid dessert borrows the dramatic color and slight cocoa note of red velvet while leaning on the classic American cheesecake form. It brings together two nostalgic flavors in a way that feels both novel and comfortingly familiar at holiday gatherings.
Seasonal Adaptations
Adjust the filling by folding in chopped toasted nuts such as pecans for a wintery crunch, or add a ribbon of dark chocolate ganache between filling layers for a more luxurious finish. For a lighter summer variation, reduce the heavy cream slightly and top with macerated berries instead of whipped cream. Swap holiday sprinkles for chopped candied ginger to make a festive twist with spicy warmth. These small changes let you tailor the dessert to the season and your menu.
Meal Prep Tips
Make the crust and filling up to two days ahead. After baking and cooling, keep covered in the refrigerator until ready to top and serve. If transporting, release the cheesecake from the springform base and place on a covered cake carrier; assemble final garnishes on site to prevent damage in transit. For parties, pre-slice and arrange pieces on platters from the chilled cake, using a hot clean knife for each cut to maintain neat presentation and reduce serving time.
Every holiday that features this dessert brings back small memories—my first time making it I forgot to wrap the pan tightly and learned the hard way about leaks. Now I always double-wrap, and it never fails to earn compliments. I encourage you to make it your own by adjusting garnishes and colors to match your celebration.
From the first whisk of cream cheese to the final sprinkle, this dessert rewards patience with a stunning presentation and rich, balanced flavor. Bring it to your next holiday gathering and watch it become someone else’s new favorite tradition.
Pro Tips
Soften cream cheese to room temperature to avoid lumps and ensure a smooth filling.
Wrap the springform pan tightly with heavy-duty foil and use a hot water bath to prevent cracking and provide an even bake.
Use a long, sharp knife dipped in hot water and wiped clean between slices for neat portions.
Fold whipped cream gently into the filling to keep air in for a lighter texture but avoid overmixing which can introduce cracks.
This nourishing christmas red velvet cheesecake recipe is sure to be a staple in your kitchen. Enjoy every moist, high protein slice — it is perfect for breakfast or as a wholesome snack any time.
FAQs about Recipes
Can I freeze this cheesecake?
Yes. After the cheesecake has been wrapped tightly, freeze slices for up to 3 months. Thaw overnight in the refrigerator before serving.
How do I know when it is fully baked?
A slight jiggle in the center indicates it is done; the edges should be set and lightly puffed. The center firms as it cools.
Tags
Christmas Red Velvet Cheesecake
This Christmas Red Velvet Cheesecake recipe makes perfectly juicy, tender, and flavorful steak every time! Serve with potatoes and a side salad for an unforgettable dinner in under 30 minutes.
Ingredients
Crust
Filling
Topping and Garnish
Instructions
Prepare pan and preheat
Preheat oven to 350°F (175°C) and wrap a 9-inch springform pan tightly with heavy-duty aluminum foil to prevent water seepage during the water bath.
Make crust
Crush 24 Oreos finely. Combine crumbs with 1/3 cup melted butter and 2 tablespoons sugar. Press firmly into the bottom of the pan and bake 8 to 10 minutes. Cool completely on a wire rack.
Mix filling
Beat softened cream cheese until smooth. Add 1/2 cup sugar gradually, then vanilla, cocoa, and red coloring. Whip 1 cup heavy cream to soft peaks and fold gently into the cream cheese mixture. Fold in 1/4 cup sprinkles.
Assemble and water bath bake
Pour filling over cooled crust. Reduce oven to 325°F (160°C). Place wrapped pan in a larger roasting pan and pour hot water to halfway up the springform sides. Bake 1 hour to 1 hour 15 minutes until edges are set and center jiggles slightly.
Cool slowly
Turn off oven and leave door ajar with cheesecake inside for 1 hour. Remove pan, cool 2 to 3 hours on a wire rack, run a knife around the edge, then refrigerate for at least 6 to 8 hours or overnight.
Garnish and serve
Remove springform sides, top with whipped cream, mini Oreos, and extra sprinkles. For clean slices, dip a sharp knife in hot water and wipe between cuts. Store leftovers refrigerated up to 4 days.
Last Step: Please leave a rating and comment letting us know how you liked this recipe! This helps our business to thrive and continue providing free, high-quality recipes for you.
Nutrition
Did You Make This?
Leave a comment & rating below or tag
@snapyrecipe on social media!
Categories:
You might also like...

5-Minute Thanksgiving Appetizers That Wow Every Guest
A fast, elegant bite for Thanksgiving: creamy cheese, bright cranberry, crunchy pecans and rosemary on crackers or baguette — ready in five minutes and loved by all.

Air Fryer Bang Bang Chicken Skewers
Crispy air-fried chicken skewers tossed in a creamy, sweet-spicy bang bang sauce — a quick, crowd-pleasing weeknight favorite.

Air Fryer Honey Butter Garlic Chicken Tenders
Crispy air-fried chicken tenders coated in a sticky honey-butter garlic glaze — quick, family-friendly, and ready in about 25 minutes.
Did You Make This?
Leave a comment & rating below or tag @snapyrecipe on social media!
Rate This Recipe
Share This Recipe
Enjoyed this recipe? Share it with friends and family, and don't forget to leave a review!
Comments (1)
This recipe looks amazing! Can't wait to try it.
Comments are stored locally in your browser. Server comments are displayed alongside your local comments.
Hi, I'm Natalia!
What's Popular

Get My 30-Minute Meals email series!
Quick and easy dinner ideas delivered to your inbox.