
Classic Slice-and-Bake Cookies

Crisp-edged, tender-centered slice-and-bake cookies that are easy to shape, chill, and slice for perfect uniform cookies every time — customizable with sprinkles or chips.
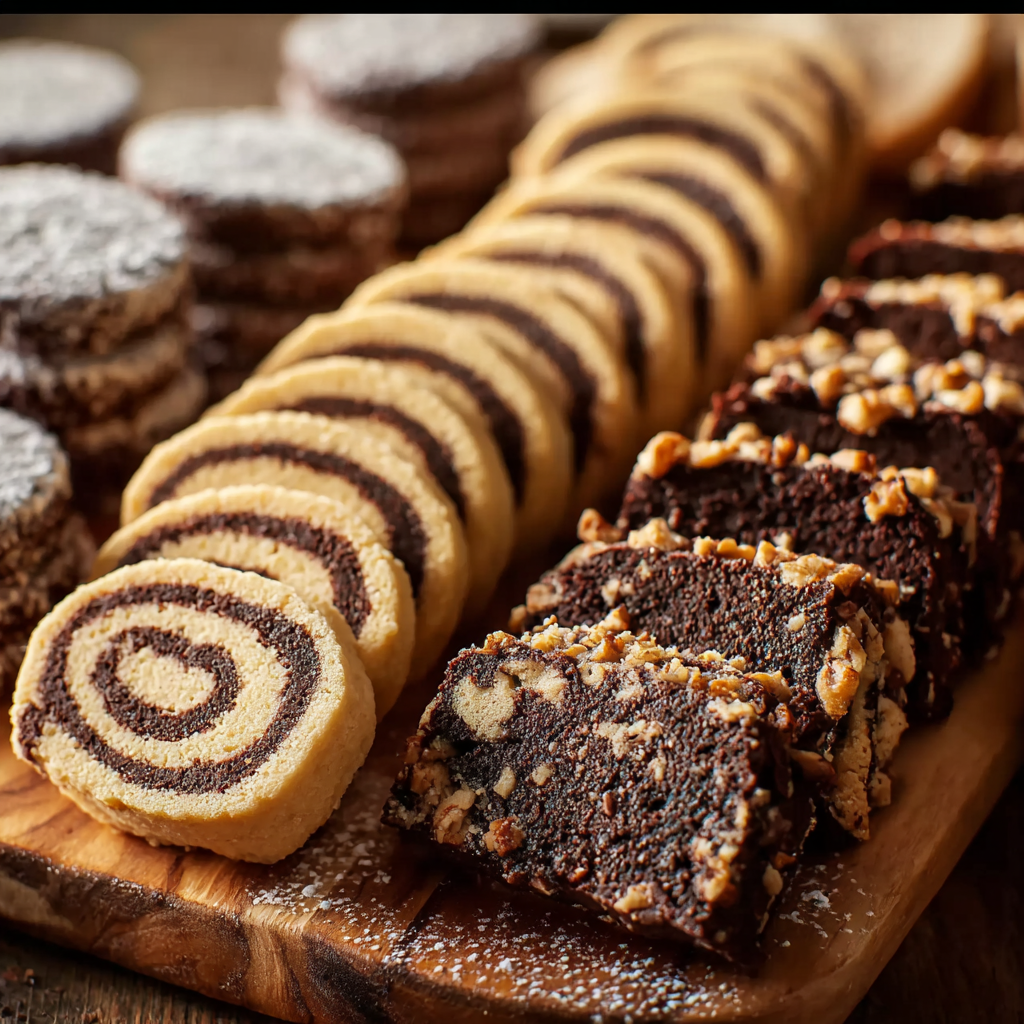
This classic slice-and-bake cookie has a special place in my kitchen for those moments when I want fresh, uniform cookies with minimal fuss. I first learned this technique years ago during a winter cookie swap; the dough was simple to assemble in one bowl, chilled while I wrapped gifts, and then sliced into perfectly round cookies that impressed everyone. The texture is what I keep going back for: a crisp edge with a slightly tender center, and a buttery flavor that carries a whisper of vanilla. It’s the ideal base for mix-ins like colored sugar, citrus zest, or chocolate chips, and it travels well for potlucks or school events.
When life gets busy, this method shines because the dough can be made ahead and kept in the refrigerator or freezer until you’re ready to bake. I find myself doubling the batch during the holidays and keeping one log chilled for weekday treats. Kids love rolling the dough in sprinkles and pinching the ends; for me, the ritual of slicing and seeing identical rounds line up on the baking sheet is quietly satisfying. These cookies are forgiving, reliable, and endlessly adaptable — a true home-baking staple.
Why You'll Love This Recipe
- Ready in about 30 minutes of active time and perfect for make-ahead planning; dough can be chilled for hours or frozen for months.
- Uses pantry staples: all-purpose flour, sugar, butter, egg, and vanilla — easy to shop for and ideal for last-minute baking.
- Customizable base: add chocolate chips, citrus zest, or decorative sugar to suit holidays or everyday treats.
- Consistent results: shaping into a log creates uniform cookies that bake evenly, which is great for gifting or display.
- Kid-friendly assembly: simple mixing and slicing steps mean helpers can participate without complicated techniques.
- Perfect texture balance: crisp edges from the oven heat and tender, buttery centers when baked to the light golden stage.
I often halve the recipe for a small batch, but when I make the full amount it disappears within a day at family gatherings. A simple ribbon of wrapping and a jar of cookies make effortless hostess gifts, and I’ve learned to keep a chilled log in the freezer for surprise guests — it saves time and always earns compliments.
Ingredients
- All-purpose flour (2 3/4 cups): Use a reliable brand such as King Arthur or Gold Medal for consistent protein content. Spoon and level the flour into the measuring cup instead of scooping to avoid packing; this keeps the dough from becoming too dry.
- Baking powder (1 teaspoon): Fresh baking powder gives a gentle lift and slightly lightens the cookie texture; check the date on the can for best results.
- Salt (1/2 teaspoon): I prefer fine sea salt for a clean balance; it enhances the butter’s flavor without making the cookies taste salty.
- Unsalted butter (1 cup, softened): Use high-quality butter like Plugra or Kerrygold for a rich, creamy flavor. Soften to room temperature but not melted — the dough comes together more predictably.
- Granulated sugar (1 cup): Regular white sugar contributes to crisp edges; for a slightly chewier result, substitute half with light brown sugar.
- Large egg (1): Adds structure and a tender crumb; use a room-temperature egg so the dough emulsifies evenly.
- Vanilla extract (1 teaspoon): Pure vanilla adds depth; a single splash of almond extract can be used for a different aromatic profile.
- Optional add-ins or toppings: Colored sugar, sprinkles, citrus zest, or chocolate chips — mix-ins should be folded in sparingly so the dough keeps its clean shape when sliced.
Instructions
Prepare dry ingredients: Whisk together the 2 3/4 cups all-purpose flour, 1 teaspoon baking powder, and 1/2 teaspoon salt in a medium bowl. Sifting is optional but helps aerate the flour for a lighter bite. Set the bowl aside while you cream the butter and sugar so everything is ready to combine. Cream butter and sugar: In a large bowl, beat 1 cup softened unsalted butter with 1 cup granulated sugar until pale and fluffy, about 2 to 3 minutes with an electric mixer on medium speed. Add the large egg and 1 teaspoon vanilla extract, beating until just incorporated. Scrape the bowl to ensure even mixing; overbeating after adding flour can lead to a cakier texture. Combine to form dough: Fold the dry mixture into the butter mixture in two additions, mixing until a cohesive dough forms. If using add-ins (zest, chips, or sprinkles), fold them in gently at this stage. The dough should be soft but firm enough to roll into a log; if it feels sticky, chill for 10 minutes and then shape. Shape and chill: Divide the dough if making multiple flavors, then shape it into a tight log about 1 1/2 to 2 inches in diameter. Wrap each log in plastic wrap and press to smooth. Refrigerate for at least 2 hours until firm, or freeze for up to 3 months. Chilling is essential to maintain shape and produce clean slices. Slice and bake: Preheat the oven to 350°F. Line baking sheets with parchment paper. Unwrap a log and slice into 1/4-inch thick rounds using a sharp knife. Place the rounds 1 inch apart on the sheet. Bake for 10 to 12 minutes, rotating the pan halfway through, until edges are light golden. Avoid overbaking to keep centers tender. Cool and finish: Let cookies sit on the baking sheet for 3 minutes, then transfer to a cooling rack to cool completely. If decorating with icing or extra sprinkles, do so while slightly warm so toppings adhere. Store completely cooled cookies in an airtight container to preserve texture.
You Must Know
- These cookies store well at room temperature for up to 5 days in an airtight container and freeze beautifully for up to 3 months when wrapped tightly.
- Chill time is non-negotiable for clean slices; if you are short on time, freeze logs for 30 minutes before slicing to firm them quickly.
- The texture depends on baking time: pull at 10 minutes for soft centers, and wait until 12 minutes for crispier edges and a more pronounced golden color.
- This dough is a perfect vehicle for small mix-ins. Keep chunky additions to a minimum so slices hold their shape while baking.
My favorite part is the ritual of slicing the log and lining up identical rounds on the pan. At one holiday party, a friend remarked that store-bought cookies never looked this uniform; it felt like a small triumph. I also appreciate how the dough can be flavored differently in the same batch — a lemon-zest log next to a chocolate-chip log makes a lovely gift box.
Storage Tips
To keep the cookies at peak freshness, cool them completely before storing in an airtight container layered with parchment. Room temperature storage lasts about 4 to 5 days; for longer keeping, place well-wrapped logs or baked cookies in the freezer for up to 3 months. When freezing unbaked logs, label with date and suggested bake time. To re-crisp cookies, warm them in a 325°F oven for 3 to 4 minutes from room temperature, or from frozen let them come to room temperature then reheat briefly. Avoid refrigerating baked cookies as it can dry them out.
Ingredient Substitutions
Swapping ingredients slightly alters texture but can accommodate dietary needs. For a slightly denser, chewier cookie, replace up to 1/2 cup of granulated sugar with light brown sugar. For dairy-free requests, use a vegan stick-style butter substitute measured 1:1 and check that it’s cold but spreadable; the flavor won’t be identical but the structure holds. To reduce gluten sensitivity, use a cup-for-cup gluten-free flour blend and add 1/4 teaspoon xanthan gum if the blend lacks it. Note that citrus zest or extracts change the aromatic profile — lemon or orange zest brightens the buttery base beautifully.
Serving Suggestions
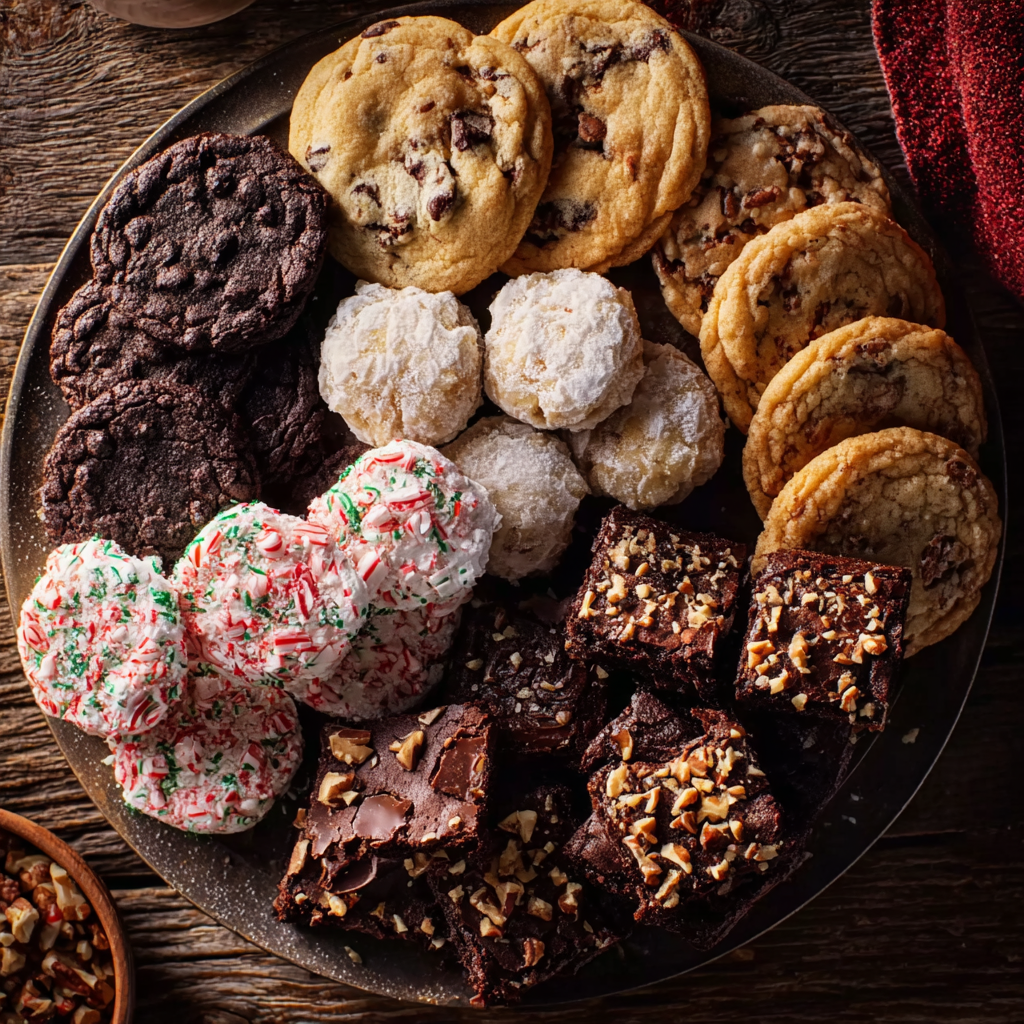
Serve these cookies with a hot cup of coffee or a glass of milk for a classic pairing. Arrange different flavored logs on a platter for a party, or stack tied bundles with ribbon for gifts. Garnish with a dusting of powdered sugar for winter occasions or a thin ribbon of chocolate for a more elegant look. They also pair well with a scoop of simple vanilla ice cream for a playful dessert sandwich.
Cultural Background
Slice-and-bake methods trace back to European biscuit-making traditions where shaping dough into logs allowed bakers to produce many consistent biscuits efficiently. The technique was popularized in home baking for its simplicity and adaptability; by chilling the dough, bakers could mass-produce uniform rounds without complex piping or scooping. Over time, the method has been embraced in American home baking for holiday cookies and everyday treats because of its convenience and predictable results.
Seasonal Adaptations
Change the toppings and flavors with the seasons: stir in orange and cranberry zest in winter, lavender or lemon in spring, or cinnamon and chopped nuts in autumn. For holiday cookies, roll logs in red and green colored sugar before chilling. In summer, use lemon zest and a few fresh berries folded into small pieces, then freeze logs for quick, bright cookies throughout the season.
Meal Prep Tips
Make several logs at once and freeze individual logs for grab-and-bake convenience. Wrap each log tightly in plastic and foil, and store in a freezer-safe bag. When needed, slice directly from the freezer adding an extra minute or two to baking time. For portion control, slice into thinner or thicker rounds depending on desired cookie size; remember that thinner slices crisp faster and thicker slices need more bake time and yield a softer center.
These cookies are a wonderful, approachable technique to keep in your repertoire — reliable, adaptable, and full of buttery comfort. I encourage you to make a batch, try one of the variations, and find the version your family loves most.
Pro Tips
For clean slices, chill logs thoroughly and use a sharp knife dipped in hot water between cuts.
Measure flour by spooning into the cup and leveling to avoid dense dough.
If dough is too soft to slice, freeze logs for 20 to 30 minutes, then slice easily.
Rotate baking sheets halfway through baking to ensure even color on every batch.
This nourishing classic slice-and-bake cookies recipe is sure to be a staple in your kitchen. Enjoy every moist, high protein slice — it is perfect for breakfast or as a wholesome snack any time.
FAQs about Recipes
Can I slice the dough right after mixing?
Yes. Chill the logs at least 2 hours or freeze for 30 minutes to make slicing easier.
How long can I freeze the dough?
Freeze unbaked logs wrapped tightly for up to 3 months; slice from frozen and add 1 to 2 minutes to bake time.
Tags
Classic Slice-and-Bake Cookies
This Classic Slice-and-Bake Cookies recipe makes perfectly juicy, tender, and flavorful steak every time! Serve with potatoes and a side salad for an unforgettable dinner in under 30 minutes.
Ingredients
Dry Ingredients
Wet Ingredients
Optional Add-ins
Instructions
Prepare dry ingredients
Whisk together flour, baking powder, and salt in a medium bowl and set aside.
Cream butter and sugar
Beat softened butter and granulated sugar until pale and fluffy, then add the egg and vanilla and mix until combined.
Combine to form dough
Fold the dry ingredients into the butter mixture until a cohesive dough forms; add optional mix-ins if using.
Shape and chill
Form dough into a tight log about 1 1/2 to 2 inches in diameter, wrap, and chill at least 2 hours or freeze for longer storage.
Slice and bake
Slice logs into 1/4-inch rounds, place on parchment-lined sheets, and bake at 350°F for 10 to 12 minutes until edges are light golden.
Last Step: Please leave a rating and comment letting us know how you liked this recipe! This helps our business to thrive and continue providing free, high-quality recipes for you.
Nutrition
Did You Make This?
Leave a comment & rating below or tag
@snapyrecipe on social media!
Categories:
You might also like...

5-Minute Thanksgiving Appetizers That Wow Every Guest
A fast, elegant bite for Thanksgiving: creamy cheese, bright cranberry, crunchy pecans and rosemary on crackers or baguette — ready in five minutes and loved by all.

Air Fryer Bang Bang Chicken Skewers
Crispy air-fried chicken skewers tossed in a creamy, sweet-spicy bang bang sauce — a quick, crowd-pleasing weeknight favorite.

Air Fryer Honey Butter Garlic Chicken Tenders
Crispy air-fried chicken tenders coated in a sticky honey-butter garlic glaze — quick, family-friendly, and ready in about 25 minutes.
Did You Make This?
Leave a comment & rating below or tag @snapyrecipe on social media!
Rate This Recipe
Share This Recipe
Enjoyed this recipe? Share it with friends and family, and don't forget to leave a review!
Comments (1)
This recipe looks amazing! Can't wait to try it.
Comments are stored locally in your browser. Server comments are displayed alongside your local comments.
Hi, I'm Natalia!
What's Popular

Get My 30-Minute Meals email series!
Quick and easy dinner ideas delivered to your inbox.