
Easy Easter Rice Krispie Nests

Delightful no-bake nests made from puffed rice, marshmallows, and a chocolate center topped with mini candy eggs. Quick, kid-friendly, and perfect for Easter celebrations.
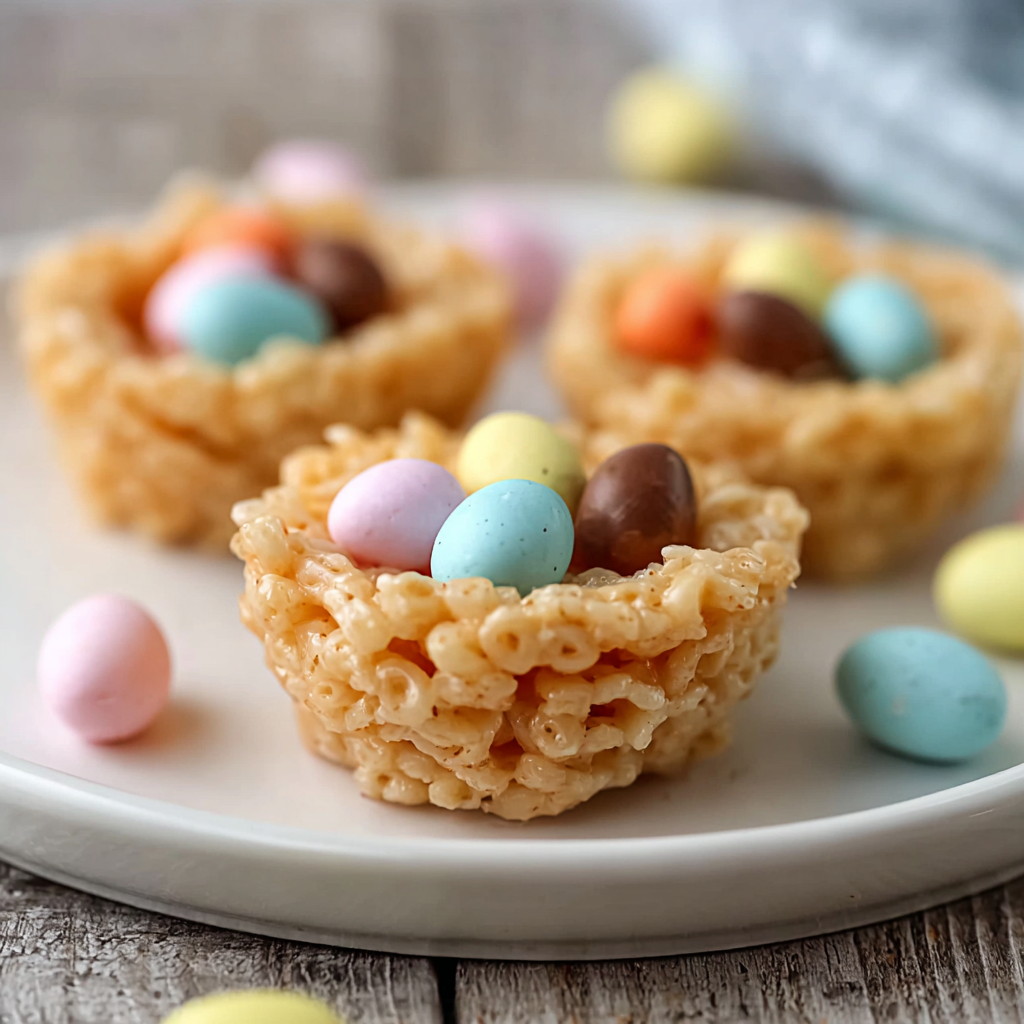
This simple Easter treat has become a tiny holiday tradition in my family. I first made these nests when my niece was three and obsessed with all things spring; she wanted to help, and the mixture was forgiving enough for small hands. The combination of crunchy puffed rice and warm, sticky marshmallow creates a soft but structured nest, while the glossy chocolate center and speckled mini eggs add a cheerful finish that looks like a miniature bird's nest. It is the kind of recipe that arrives fully formed out of pantry staples and ends with bright smiles around the counter.
I discovered how well these nests travel when I brought a tray to a church potluck and they disappeared in minutes. They are unusually durable for a marshmallow-based treat because the cereal stays crisp underneath the marshmallow coating, and chilling before decorating helps maintain the nest shape. The flavors are familiar and comforting: sweet marshmallow with a hint of vanilla, a buttery undertone, and the satisfying snap of chocolate and candy eggs. Every year they reappear at our Easter table, and children and adults both ask for the secret to the glossy chocolate center, which is simply a touch of oil stirred into melted chips.
Why You'll Love This Recipe
- Ready in about 30 minutes from start to finish, using pantry staples like puffed rice cereal, mini marshmallows, and chocolate chips, so you can pull them together last minute.
- No baking required, which keeps the kitchen cool and makes this perfect to make with kids, classroom parties, or potlucks where oven space is limited.
- Highly customizable: swap candies for seasonal colors, use coconut oil for dairy-free sheen, or add a pinch of sea salt to the chocolate for contrast.
- Make-ahead friendly — form the nests, chill them, and decorate later the same day, saving time on the morning of a celebration.
- Portable and easy to transport in a single layer, they also freeze well for up to three months when sealed in an airtight container between layers of parchment.
I always find it satisfying to watch the kids wiggle their thumbs into the centers to shape nests. One Easter my niece insisted on a dozen pink eggs, and the playful colors made our dessert table feel festive and loud; even the adults admitted they enjoyed how nostalgic and carefree these treats felt. Watching people dip the nests in chocolate or drizzle with a fork is one of my favorite kitchen memories.
Ingredients
- Puffed rice cereal (6 cups): Choose a plain puffed rice like Rice Krispies or store-brand equivalents. Look for a fresh, crisp cereal bag without any stale smell; this provides the crunchy base and light texture.
- Unsalted butter (1/4 cup): Real butter adds richness and a silky mouthfeel. Use unsalted so you control seasoning; European-style butter yields a deeper flavor if you prefer.
- Mini marshmallows (10 ounces): Use mini marshmallows for even melting. If you need vegetarian marshmallows, check labels and substitute a pectin-based brand.
- Vanilla extract (1 teaspoon): Pure vanilla gives warmth and depth. I use Nielsen-Massey or another pure extract when possible; imitation works in a pinch.
- Chocolate chips (1 cup): Milk or semi-sweet chips both work. Ghirardelli or a quality store brand melts smoothly when blended with a little oil for shine.
- Vegetable oil or coconut oil (1 tablespoon): Adds gloss and fluidity to the melted chocolate, making it easy to pour or spread into the nest centers.
- Mini candy eggs: Cadbury Mini Eggs, malted milk eggs, or jelly beans. Use a variety of colors to make them festive; about 2 to 3 eggs per nest is ideal.
Instructions
Prepare your workspace: Line a baking sheet with parchment or wax paper and lightly grease your hands or a spoon with butter or nonstick spray to prevent sticking. Have all ingredients measured and within reach because marshmallow sets quickly once mixed. Melt butter and marshmallows: In a large microwave-safe bowl, combine the butter and mini marshmallows. Microwave on high for 1 minute, then stir. Continue in 30-second bursts, stirring between, until the mixture is smooth and fully melted, usually 2 to 3 minutes total. Stirring frequently prevents hot spots and burning. Stir in vanilla: Remove the bowl from the microwave and stir in the vanilla extract until uniformly incorporated. The vanilla helps round the sweetness and adds a bakery-like aroma to the nest interior. Combine with cereal: Add the puffed rice cereal to the marshmallow mixture. Use a buttered spatula or spoon to fold gently, scraping the sides and bottom to coat cereal evenly. Fold carefully to keep cereal pieces whole and light rather than pulverized. Form the nests: While warm, scoop roughly 1/4 cup portions of the mixture into your greased hands. Shape into rounded nests and press your thumb into the center to form an indentation for the chocolate. Work quickly but gently; the mixture becomes firmer as it cools. Chill to set: Place the formed nests on the prepared sheet and refrigerate for about 15 minutes to firm up. Cooling helps nests hold their shape during decorating and prevents the chocolate from seeping through the gaps. Melt the chocolate: While nests chill, melt the chocolate chips in a microwave-safe bowl in 30-second intervals, stirring until smooth. Stir in 1 tablespoon of vegetable or coconut oil to make the chocolate glossy and easier to spoon into nest centers. Decorate and finish: When nests are firm, spoon or drizzle a small amount of melted chocolate into each indentation and immediately press 2 to 3 mini candy eggs into the chocolate before it sets. Allow chocolate to harden at room temperature or return to the refrigerator for a few minutes.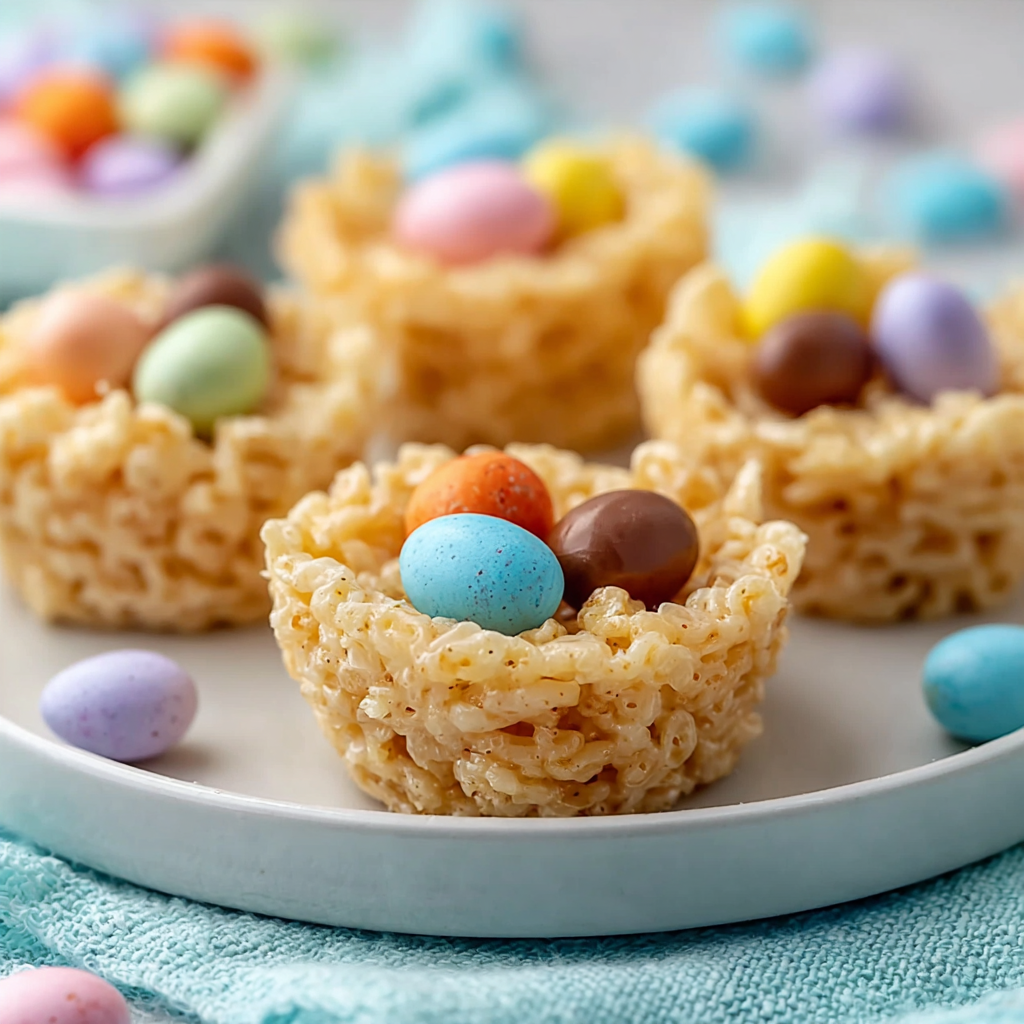
You Must Know
- This treat is best eaten within 48 hours for maximum crispness; refrigerating longer can make the cereal lose its crunch as ambient moisture accumulates.
- They freeze well: separate layers with parchment and store in an airtight container for up to three months. Thaw at room temperature before serving to avoid condensation on the chocolate.
- The marshmallow binds the cereal; if you overwork the mixture it may become chewy rather than crisp, so fold gently and form nests while still warm.
- For a brighter presentation, choose pastel candies and place them in a consistent pattern of two or three eggs per nest for a polished look.
What I love most is how forgiving and social this process is. One year, neighbors stopped by and we had an impromptu decorating station on the porch. Little hands loved making thumb impressions to create perfect hollows, and adults enjoyed experimenting with dark chocolate and sea salt. The result was festive, nostalgic, and repeatedly requested at subsequent spring gatherings.

Storage Tips
Store nests in an airtight container at room temperature for up to two days to keep the cereal crisp. If you must refrigerate, layer parchment between nests and store for up to a week, though the texture will gradually soften. For longer storage, freeze on a baking sheet until solid, then transfer to a freezer-safe container with parchment between layers. Thaw frozen nests at room temperature to avoid condensation on the chocolate. Avoid stacking nests directly on top of one another until the chocolate is fully set to prevent smudging.
Ingredient Substitutions
If you need dairy-free options, swap the butter for coconut oil and choose dairy-free chocolate chips. For a vegetarian marshmallow, buy a gelatin-free brand or use vegan marshmallows; note that texture can be slightly different and may require a tiny extra bit of oil. To make them gluten-free, use a certified gluten-free puffed rice cereal. If you prefer less sweetness, use dark chocolate for the center or reduce the number of candy eggs used for decoration.
Serving Suggestions
Present nests on a tiered platter for a festive Easter centerpiece. They pair well with simple powdered sugar cookies, lemon bars, or a fresh fruit platter to balance sweetness. For a brunch table, arrange them alongside colored deviled eggs and herb-roasted potatoes to play up seasonal colors. Garnish with a sprinkle of edible gold dust or pastel sanding sugar for an extra-special look.
Cultural Background
These nests are a modern, playful take on classic cereal bars adapted for spring celebrations. The idea of creating edible nests likely evolved from the popularity of no-bake cereal treats and the visual charm of using candy eggs to echo the theme of renewal and birds returning in spring. While not tied to a single culinary tradition, this confection has become a staple in many Western Easter gatherings due to its accessibility and child-friendly preparation.
Seasonal Adaptations
Change the candies to fit other holidays: use red and green sprinkles for a Christmas version, or pastel marshmallow bits for baby showers. Add a tablespoon of finely shredded coconut to the cereal for a rustic, nest-like texture in spring. For autumn gatherings, swap the chocolate for browned butter to add caramel notes, and decorate with candy corn instead of eggs.
Meal Prep Tips
For make-ahead convenience, form nests and chill them unadorned up to 24 hours in advance, then melt chocolate and decorate just before serving. If you plan to transport them, arrange them in a single layer in a shallow box with parchment lining. For classroom projects, pre-portion the cereal mixture into small cups so children can shape nests easily under supervision. Label containers with date prepared and any allergy notes when sharing with groups.
These tiny nests are such a joyful project — fast, forgiving, and full of color — and they always bring a little extra cheer to our holiday table. I hope they become part of your spring celebrations, too.
Pro Tips
Grease your hands or a spoon with butter to prevent the marshmallow mixture from sticking while you shape nests.
Chill formed nests for about 15 minutes before decorating to maintain their shape when adding melted chocolate and candy eggs.
Stir the marshmallows frequently during microwaving to avoid scorching and ensure an even, glossy melt.
For a smoother melted chocolate, add 1 tablespoon of vegetable or coconut oil and stir until glossy.
Use a tablespoon measure to portion nests uniformly so they bake evenly and look consistent on a platter.
This nourishing easy easter rice krispie nests recipe is sure to be a staple in your kitchen. Enjoy every moist, high protein slice — it is perfect for breakfast or as a wholesome snack any time.
FAQs about Recipes
Can I freeze the nests?
Yes. Form the nests and freeze them on a sheet until solid, then transfer to an airtight container with parchment between layers. They keep up to three months frozen. Thaw at room temperature before serving.
How do I get a shiny chocolate center?
Use a thin layer of oil in the melted chocolate for a glossy finish and faster setting. For a firmer center, refrigerate the nests until the chocolate hardens.
How can I make them gluten-free or vegan?
Choose a certified gluten-free puffed rice cereal and check marshmallow labels for gelatin sources. Use dairy-free butter substitutes and vegan chocolate to accommodate dietary needs.
Tags
Easy Easter Rice Krispie Nests
This Easy Easter Rice Krispie Nests recipe makes perfectly juicy, tender, and flavorful steak every time! Serve with potatoes and a side salad for an unforgettable dinner in under 30 minutes.
Instructions
Prepare workspace
Line a baking sheet with parchment paper and lightly grease hands or a spoon with butter or nonstick spray to prevent sticking. Assemble measured ingredients and tools within reach.
Melt butter and marshmallows
Combine butter and mini marshmallows in a large microwave-safe bowl. Microwave 1 minute, stir, then in 30-second intervals until smooth, typically 2 to 3 minutes total, stirring to avoid hotspots.
Add vanilla
Stir 1 teaspoon pure vanilla extract into the melted marshmallow mixture to add depth and balance the sweetness.
Fold in cereal
Pour 6 cups puffed rice cereal into the marshmallow bowl and gently fold with a buttered spatula until cereal is evenly coated without crushing the grains.
Shape nests
Scoop about 1/4 cup portions into greased hands and form rounds, pressing a thumb into the center to create an indentation for chocolate. Place on the prepared sheet.
Chill
Refrigerate the formed nests for approximately 15 minutes to firm the structure before decorating.
Melt chocolate
Melt 1 cup chocolate chips in 30-second bursts in the microwave until smooth, then stir in 1 tablespoon oil for a glossy, pourable consistency.
Decorate and set
Spoon or drizzle melted chocolate into each nest indentation, immediately press 2 to 3 mini candy eggs into the chocolate, and allow to set at room temperature or in the refrigerator.
Last Step: Please leave a rating and comment letting us know how you liked this recipe! This helps our business to thrive and continue providing free, high-quality recipes for you.
Nutrition
Did You Make This?
Leave a comment & rating below or tag
@snapyrecipe on social media!
Categories:
You might also like...

5-Minute Thanksgiving Appetizers That Wow Every Guest
A fast, elegant bite for Thanksgiving: creamy cheese, bright cranberry, crunchy pecans and rosemary on crackers or baguette — ready in five minutes and loved by all.

Air Fryer Bang Bang Chicken Skewers
Crispy air-fried chicken skewers tossed in a creamy, sweet-spicy bang bang sauce — a quick, crowd-pleasing weeknight favorite.

Air Fryer Honey Butter Garlic Chicken Tenders
Crispy air-fried chicken tenders coated in a sticky honey-butter garlic glaze — quick, family-friendly, and ready in about 25 minutes.
Did You Make This?
Leave a comment & rating below or tag @snapyrecipe on social media!
Rate This Recipe
Share This Recipe
Enjoyed this recipe? Share it with friends and family, and don't forget to leave a review!
Comments (1)
This recipe looks amazing! Can't wait to try it.
Comments are stored locally in your browser. Server comments are displayed alongside your local comments.
Hi, I'm Natalia!
What's Popular

Get My 30-Minute Meals email series!
Quick and easy dinner ideas delivered to your inbox.