
Red Velvet Christmas Cake with Cheesecake Layer

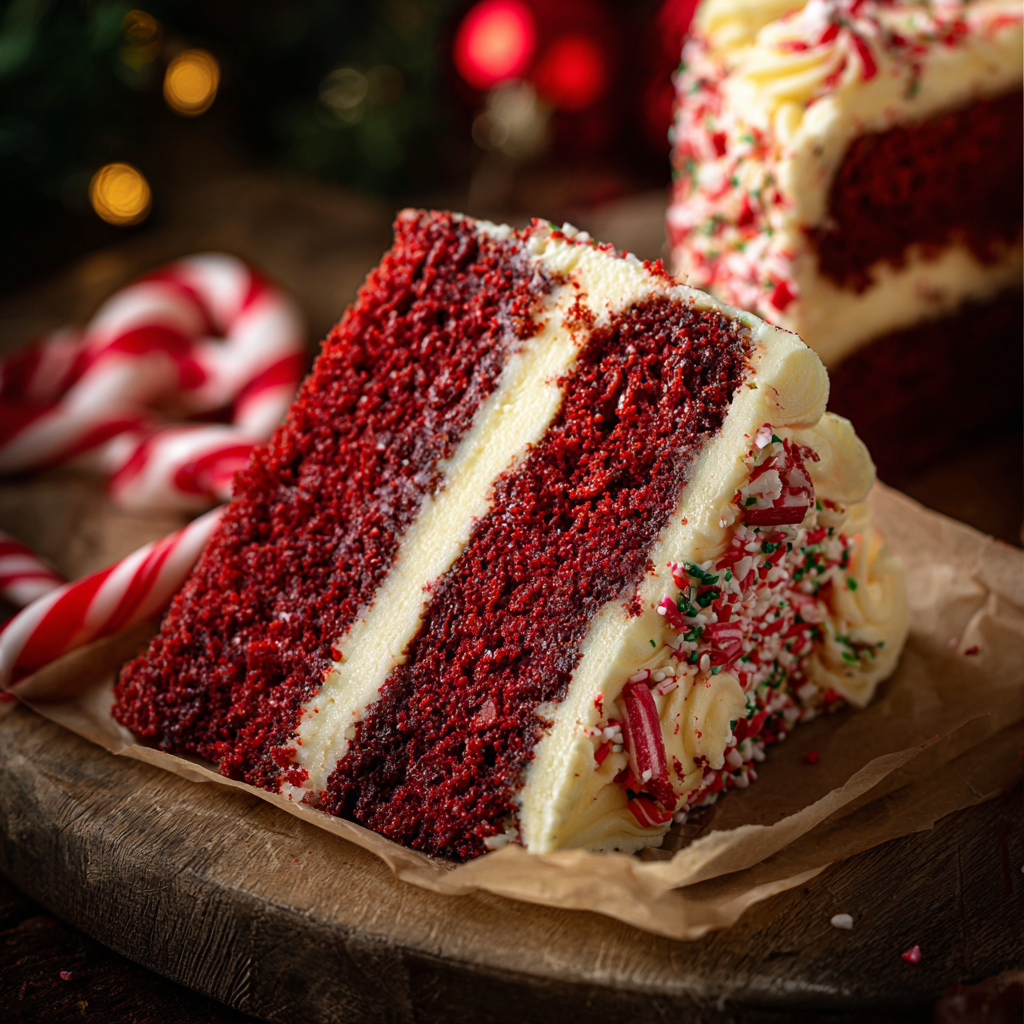
A festive three-layer Red Velvet cake with a creamy cheesecake core and silky cream cheese frosting—perfect for holiday gatherings and special occasions.

This Red Velvet Christmas cake with a hidden cheesecake layer quickly became my holiday showstopper the first December I tested it. I wanted a dessert that felt celebratory and elegant but still friendly enough for a busy kitchen. The idea came one snowy afternoon when I combined a classic cream cheese filling with the soft cocoa-kissed crumb of a red velvet batter. The contrast between the tangy, dense cheesecake center and the tender, moist cake layers creates a luxurious bite that always sparks compliments.
I first served this on Christmas Eve to a crowd of family and old friends. The presentation—three vibrant red layers sandwiching a pale cheesecake—made people pause before diving in. Texture is everything here: a velvety crumb punctuated by the cheesecake’s silkiness, finished with a cloudlike cream cheese frosting. The recipe scales well, rewards careful technique, and makes a stunning centerpiece that keeps well if you chill it right. If you love classic holiday flavors with a slightly modern twist, this will be one of your new traditions.
Why You'll Love This Recipe
- This dessert combines two beloved components—tender cocoa-red layers and a rich cheesecake filling—so every slice feels indulgent and festive, ideal for holiday gatherings or a special dinner party.
- Most pantry staples are used: flour, sugar, cocoa, oil, and common dairy items. The red gel coloring gives vibrant hue without affecting batter liquidity, making it reliable and predictable.
- It’s make-ahead friendly: bake and chill the layers a day in advance, frost the next day, and decorate minutes before serving, saving time on busy celebration days.
- Yield is generous—serves about 12—and the layers stack beautifully for slicing into even, impressive portions suitable for gifting or potlucks.
- Textural contrast is a highlight: a dense tangy cheesecake layer cuts through the sweeter crumb, preventing any one note from becoming cloying.
- Adaptable for dietary tweaks—swap Greek yogurt or sour cream, or adjust sugar and decoration to suit your crowd while preserving the classic flavor profile.
Since I started making this, my family has insisted I bring it to every holiday. I remember my nephew’s delight the first time he discovered the cheesecake surprise when the slice was cut—he declared it the best cake ever and asked for the recipe. That reaction, and the steady stream of requests at neighbors’ parties, convinced me this double-layer approach was holiday gold.
Ingredients
- Cheesecake Layer: Use full-fat cream cheese (12 ounces), a bit of granulated sugar for balance, and a tablespoon of all-purpose flour to stabilize the filling so it doesn’t weep while baking. A room-temperature egg binds everything; room-temperature ingredients yield a silky texture.
- Red Velvet Cake: Three cups of all-purpose flour provide structure while Dutch-process cocoa powder (1/4 cup) gives that rounded chocolate note without bitterness. Baking powder and baking soda combine for lift, while one cup of neutral oil keeps crumb tender and moist. Buttermilk and sour cream add tang and acidity that react with the baking soda for lift and flavor. Use red gel food coloring for consistent, vivid color.
- Cream Cheese Frosting: Use unsalted butter (1 cup) and a block of cream cheese (4 ounces) for the perfect balance of richness and tang. Sifted powdered sugar keeps the frosting smooth; vanilla pulls the flavors together. Room-temperature butter makes whipping easier and results in a spreadable frosting that won’t slide off chilled layers.
Instructions
Prepare the cheesecake filling: Beat 12 ounces of room-temperature cream cheese with 1/4 cup granulated sugar until completely smooth, about 2 to 3 minutes on medium speed. Add 1 tablespoon all-purpose flour and 1 teaspoon pure vanilla extract, scrape the bowl, and beat in 1 large room-temperature egg until just combined. Avoid overbeating to minimize trapped air, which reduces the chance of cracks during baking. Transfer to a piping bag or bowl and refrigerate while you prepare the cake batter. Make the red velvet batter: Whisk together 3 cups all-purpose flour, 1/4 cup unsweetened (Dutch-process preferred) cocoa powder, 2 teaspoons baking powder, 1 teaspoon baking soda, and 1 teaspoon salt. In a separate large bowl, whisk 1 cup canola or vegetable oil with 1 1/2 cups granulated sugar, 1 teaspoon white vinegar, and 1 teaspoon pure vanilla extract until smooth. Add 3 large eggs one at a time, beating briefly after each. Alternate adding the dry ingredients with 1 cup buttermilk and 3/4 cup sour cream (or Greek yogurt), beginning and ending with the dry mix. Fold in 1 teaspoon red gel food coloring until evenly distributed—do not overmix once combined to keep crumb tender. Assemble the layers: Preheat the oven to 350°F. Grease and line three 9-inch round pans with parchment and lightly flour. Divide some batter into the pans—reserve enough to cover the cheesecake. Spoon a ring or disk of cheesecake filling into the center of each pan, leaving a 1/2-inch gap from the edges so the cake batter can rise and encase the filling. Top with remaining batter, smoothing the surface gently. Tap pans on the counter to release large air bubbles. Bake and cool: Bake at 350°F for about 35 to 45 minutes. Check doneness by inserting a toothpick into the cake portion; it should come out with moist crumbs but not wet batter, and the cheesecake center should be set with only a slight jiggle. Cool pans on a rack for 15 minutes before inverting onto racks. Once at room temperature, wrap in plastic and chill for at least 2 hours to firm up the cheesecake center—this makes stacking and frosting much neater. Frost and finish: Beat 1 cup (226 g) unsalted butter and 4 ounces cream cheese until fluffy, then gradually add 3 cups sifted powdered sugar and 1 teaspoon vanilla. After the baked layers are thoroughly chilled, level them if needed, apply a thin crumb coat of frosting, and chill 15 minutes. Apply a final coat of frosting with an offset spatula, smooth or create decorative swirls, and decorate with holiday sprinkles or sugared cranberries. Chill for at least 30 minutes to set before slicing sharply with a warm knife.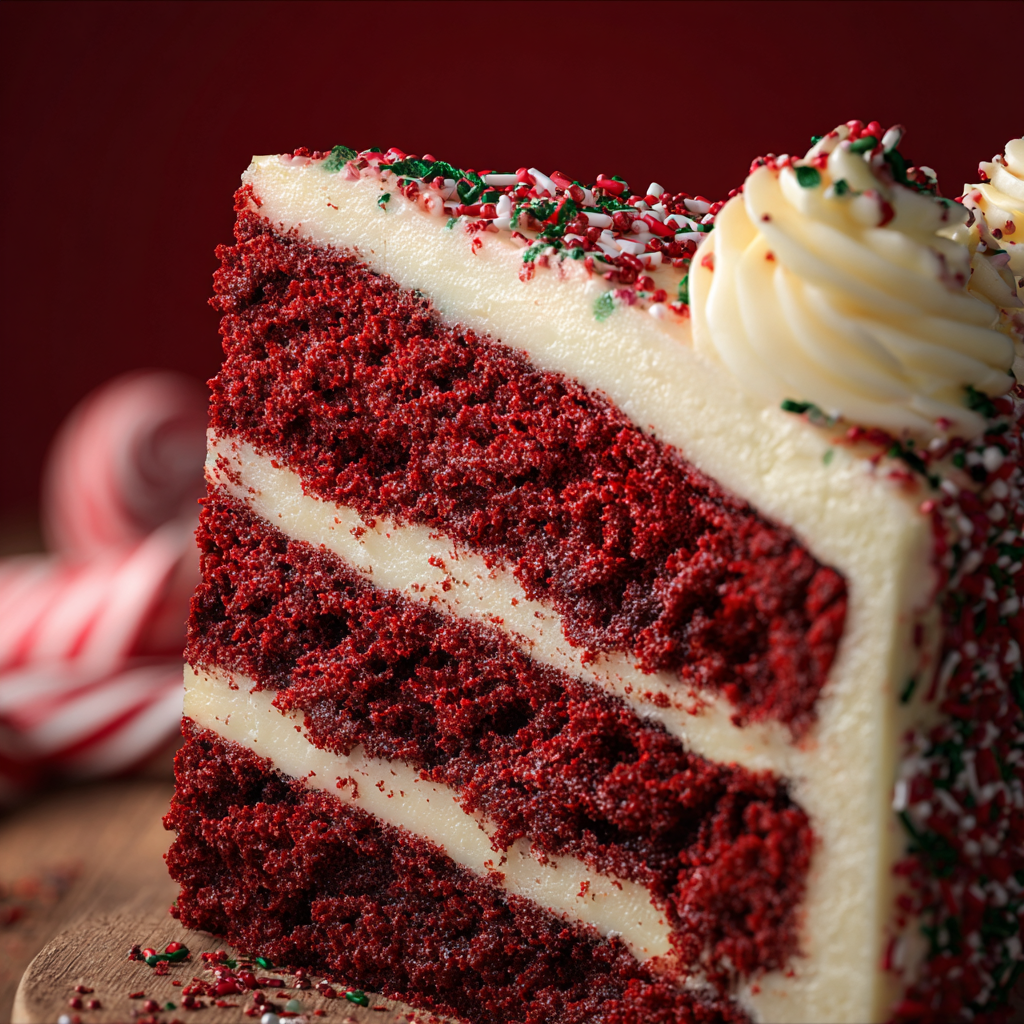
You Must Know
- Chilling is essential: allow the layers to chill after baking so the cheesecake layer firms up and you get clean slices; the cake freezes well for up to 3 months when tightly wrapped.
- Room-temperature ingredients blend more uniformly—eggs, cream cheese, butter, and dairy should sit out 30 to 60 minutes before mixing to prevent grainy texture or curdling.
- Use gel food coloring to achieve vivid red without thinning the batter; liquid dyes can alter batter hydration and crumb.
- This dessert is moderately high in calories and contains dairy, eggs, and gluten; store leftovers refrigerated and consume within 4 to 5 days for best texture and safety.
My favorite part is the reveal: slicing into the cake and seeing the pale cheesecake core nestled between crimson layers never gets old. Each holiday, someone asks how I made that surprise inside, and the look on their face when they taste the tangy center against the sweet crumb is worth the extra step. It’s those small moments—shared plates, warm smiles, and requests for the recipe—that make this cake a keeper.
Storage Tips
Store the cake in an airtight cake carrier or tightly covered with plastic wrap in the refrigerator; it will stay fresh for 4 to 5 days. For longer storage, slice into portions and freeze on a baking sheet until firm, then wrap individual slices in plastic and foil and freeze up to 3 months. Thaw overnight in the refrigerator and bring to room temperature before serving. When reheating single slices, a 20-second spin in the microwave (on low) softens the frosting without altering the cheesecake too much.
Ingredient Substitutions
If you prefer a lighter tang, substitute 3/4 cup sour cream for full sour cream and reduce sugar by a tablespoon. Greek yogurt works in a pinch but expect slightly denser crumb. For a dairy-free option, use vegan cream cheese and a non-dairy yogurt, though texture and flavor will change. To make it less sweet, reduce powdered sugar in the frosting by up to 1/2 cup and increase vanilla for flavor. Cocoa can be natural or Dutch-process, but Dutch-process yields deeper color and smoother chocolate notes.
Serving Suggestions
Serve slices alongside lightly sweetened whipped cream, fresh berries, or a drizzle of dark chocolate sauce for contrast. For a festive table, top with sugared cranberries and sprigs of rosemary for a wintry look. Pair with espresso or a citrusy tea to cut richness. For buffet-style events, pre-slice and present on a platter with a dusting of powdered sugar and a small sign so guests know about the cheesecake core.
Cultural Background
Red velvet’s origins trace back to early 20th-century North American baking where recipe developers embraced color and texture contrasts. The red color became associated with luxury during rationing eras when cocoa reacted with acidic ingredients to create a reddish hue; modern recipes use gel dye to ensure vibrancy. The combination with cream cheese reflects Southern American traditions, where cream cheese frostings and cheesecake-like fillings are common in celebratory bakes.
Seasonal Adaptations
In winter, add warm spices like a pinch of cinnamon or nutmeg to the cake batter for a holiday twist. For spring, swap cranberries for strawberries and lighten frosting with lemon zest. At Thanksgiving, top with candied nuts; for a summer party, reduce sugar slightly and serve chilled with fresh berries. Adjust decorations to match the season—gold leaf for New Year’s, edible holly for Christmas.
Meal Prep Tips
Bake layers two days ahead and wrap them tightly to lock in moisture. Assemble and crumb-coat the day before serving, then apply the final coat and decorations on the day. If transporting, chill the whole cake until firm and use non-slip mats in the car. Bring an emergency frosting kit—extra frosting in a piping bag—to touch up any imperfections at your destination.
Every time I slice into this cake I’m reminded that the smallest creative choices—like adding a cheesecake center—elevate familiar flavors into memorable moments. Make it your own, share generous slices, and enjoy the compliments that follow.
Pro Tips
Use room-temperature cream cheese, eggs, and butter to avoid lumps and ensure a silky filling and frosting.
Sift powdered sugar into the frosting gradually to prevent a gritty texture and to control sweetness.
Use gel food coloring to achieve vivid red without adding extra liquid that can thin the batter.
Chill the cake layers before final frosting to reduce crumbs and make smoothing easier.
If the cheesecake begins to crack, a light dusting of powdered sugar and gentle smoothing will disguise small imperfections.
This nourishing red velvet christmas cake with cheesecake layer recipe is sure to be a staple in your kitchen. Enjoy every moist, high protein slice — it is perfect for breakfast or as a wholesome snack any time.
FAQs about Recipes
Why should I chill the cake before frosting?
Chill the assembled layers for at least 2 hours so the cheesecake layer firms and slices cleanly.
Do my ingredients need to be room temperature?
Room-temperature ingredients blend better, producing a smooth cheesecake filling and properly emulsified batter.
Tags
Red Velvet Christmas Cake with Cheesecake Layer
This Red Velvet Christmas Cake with Cheesecake Layer recipe makes perfectly juicy, tender, and flavorful steak every time! Serve with potatoes and a side salad for an unforgettable dinner in under 30 minutes.
Ingredients
Cheesecake Layer
Red Velvet Cake
Cream Cheese Frosting
Instructions
Prepare the cheesecake filling
Beat cream cheese and sugar until smooth, add flour and vanilla, then beat in egg until just combined. Avoid overbeating to prevent excess air and cracking during bake.
Make the red velvet batter
Whisk dry ingredients; separately mix oil, sugar, vinegar, vanilla, and eggs. Alternate adding dry mix with buttermilk and sour cream, then stir in gel coloring until uniform.
Assemble the layers
Grease and line pans. Portion batter, add cheesecake filling leaving a small gap from edges, then cover with remaining batter. Tap pans to remove air and even layers.
Bake and cool
Bake at 350°F for 35–45 minutes until set and a toothpick comes out with moist crumbs. Cool in pans 15 minutes, transfer to racks, then chill before frosting.
Frost and finish
Beat butter and cream cheese until fluffy, add powdered sugar and vanilla. Crumb-coat chilled layers, chill 15 minutes, then apply final frosting and decorate.
Last Step: Please leave a rating and comment letting us know how you liked this recipe! This helps our business to thrive and continue providing free, high-quality recipes for you.
Nutrition
Did You Make This?
Leave a comment & rating below or tag
@snapyrecipe on social media!
Categories:
You might also like...

5-Minute Thanksgiving Appetizers That Wow Every Guest
A fast, elegant bite for Thanksgiving: creamy cheese, bright cranberry, crunchy pecans and rosemary on crackers or baguette — ready in five minutes and loved by all.

Air Fryer Bang Bang Chicken Skewers
Crispy air-fried chicken skewers tossed in a creamy, sweet-spicy bang bang sauce — a quick, crowd-pleasing weeknight favorite.

Air Fryer Honey Butter Garlic Chicken Tenders
Crispy air-fried chicken tenders coated in a sticky honey-butter garlic glaze — quick, family-friendly, and ready in about 25 minutes.
Did You Make This?
Leave a comment & rating below or tag @snapyrecipe on social media!
Rate This Recipe
Share This Recipe
Enjoyed this recipe? Share it with friends and family, and don't forget to leave a review!
Comments (1)
This recipe looks amazing! Can't wait to try it.
Comments are stored locally in your browser. Server comments are displayed alongside your local comments.
Hi, I'm Natalia!
What's Popular

Get My 30-Minute Meals email series!
Quick and easy dinner ideas delivered to your inbox.